Table of Contents
Introduction
The Crashproof File Server Case Mod consists of a Slackware Linux CentOS file server inside the flight data recorder (a.k.a. "black box") from a C-130. Why a black box? Well, I wanted to do something that, as far as I know, nobody else has done. Besides that, it's just plain cool.
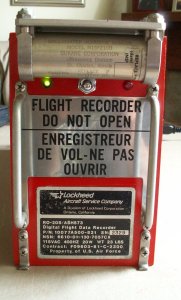
The first step was to find a black box. Here, eBay was my friend. I found one for only $49.99, which was a serious deal since these things cost a couple grand brand new. Here are some pictures of the box in its original condition:
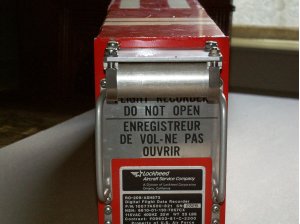
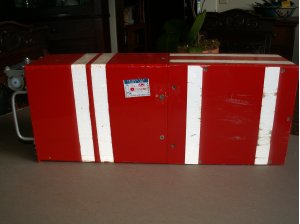
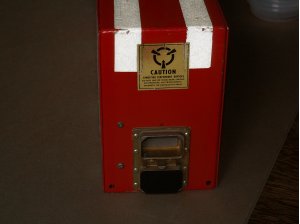
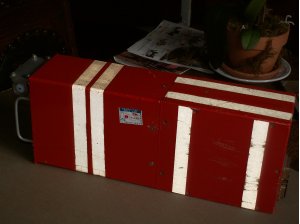
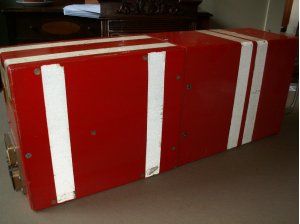
The cylinder on the front of the case in the first image is labeled "Underwater Acoustic Beacon". It may or may not still be viable. I can't be sure because its service tag has been removed. I'm a little wary to open it and find out because I don't want a rescue team descending on my house.
Disassembly
After getting the box, the first thing I needed to do was open it up. The box is divided into two sections, one for the electronics and one for the storage medium. The electronics half is made of 1/8" aluminum, while the storage half is made of 3/16" steel.
Electronics Compartment
Here are some views of the box with the top panel off:
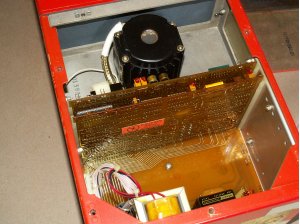
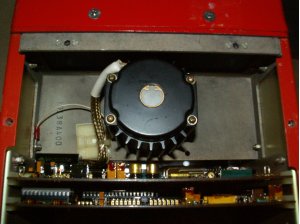
You can see three circuit boards and a motor. The circuit boards handle communication with the airplane and save all data to the recorder. The motor spins the storage medium, which is magnetic tape.
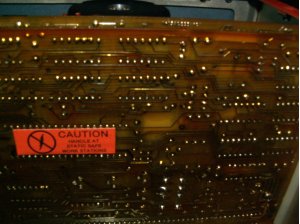
This is a close-up of the underside of one of the circuit boards. At first, I thought that the PCB traces were made of gold (in order to prevent corrosion), but it turned out that they were simply covered in a gold-colored sealant to protect them from water damage. Notice the eight silver-colored solder points near the bottom of the image. The component there was replaced during maintenance.
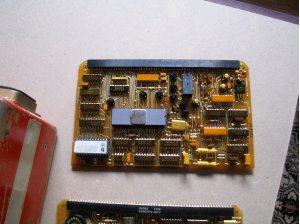
Here are views of both vertical circuit boards. The one on the top shows signs of repair and/or upgrade. The large gray IC in the middle, the smaller one at the bottom left corner, and the black component near the top of the board were all replaced at some point. Meanwhile, the board on the bottom appears untouched since its manufacture.
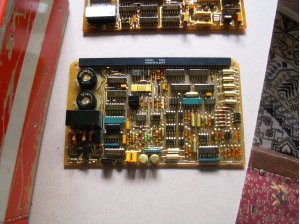
These are views of the horizontal circuit board and the data/power input. There is a port on the back that sends both data and power to the recorder through the large bunch of pink wires on the right. There are two transformers that convert the plane's power to whatever is necessary for the electronics in the box.
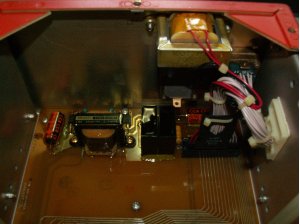
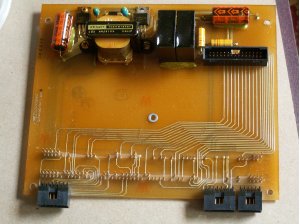
This is the view of the box with the bottom cover removed. The same horizontal circuit board is visible, along with a rotation counter that is attached to the motor. You can also see the data lines that run to the storage tape.
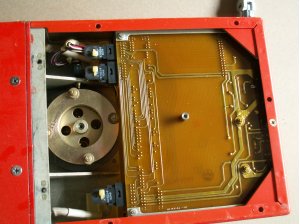
Storage Compartment
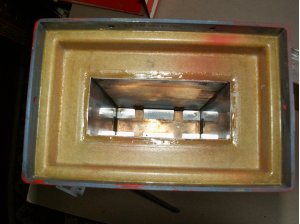
This is the storage half. The large cutout contains the storage medium, which is actually connected to a dividing plate between the two halves. The yellow stuff around the cutout is fiberglass. I wasn't sure at first whether it was solid fiberglass or if there was something behind it. More on what was behind it later...
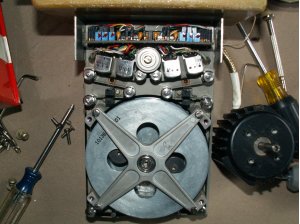
Here is the storage medium, attached to the dividing plate. It is also sitting on another section of the mysterious fiberglass. You can see in the second image that the storage tape is connected by a belt to the motor spindle. My best guess for why they didn't include the motor and the rotation counter in the storage tape module is that if the motor was damaged the module could be (relatively) easily pulled out and read in another machine.
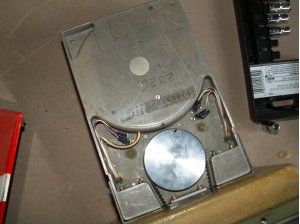
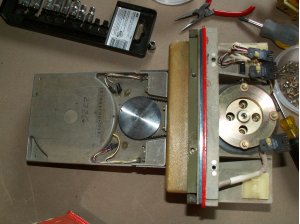
This is the storage module with one half of the enclosure removed. The read/write heads can be clearly seen, as can the tape itself. At this point, attempting to read the tape is probably useless because I had no idea what it was until I opened it, plus I touched it several times by accident. Besides that, I have no idea how it could be interfaced to a computer or any other device in order to read it.
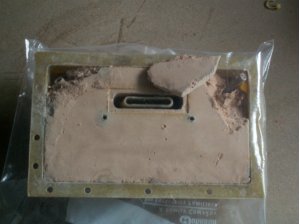
Upon removing the fiberglass from the divider plate, I discovered what was behind it: asbestos. Once I realized this, I immediately put it inside a plastic bag, as you can see. This meant that I had to clear out the entire storage half before I could use it.
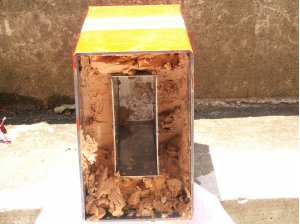
To clear out the storage half, I used a a drill and a large auger bit. I also occasionally soaked the asbestos with water to help keep it from finding its way into my lungs. I questioned whether this mod was worth the risk of mesothelioma, but I decided it was.
Modification
In order to do the modifications, I called upon the aid of my father and his shop. The main changes were simply cutting new holes in the case. This was easier with the electronics half and its 1/8" aluminum. For that, we used an air-powered nibbler. For the steel in the storage half and divider, however, we had to resort to a cutting torch. 4 large openings had to be made: 2 holes for fans, 1 for the I/O shield, and 1 in the steel divider for cables.
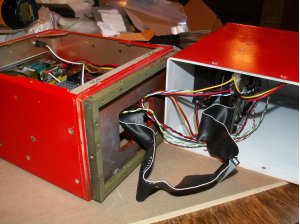
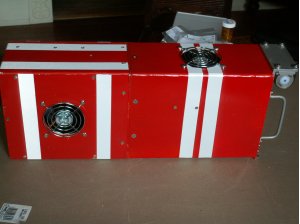
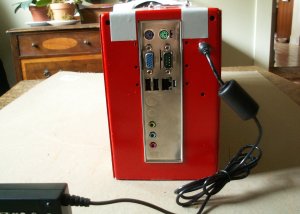
Because the case had taken a lot of abuse (scratches, scorch marks, etc.) during the disassembly, I needed to repaint the case and put on new reflective tape. Luckily, I found the exact paint color at a local hardware store. The reflective tape was easily obtained through Amazon. I think the end result looks pretty good.
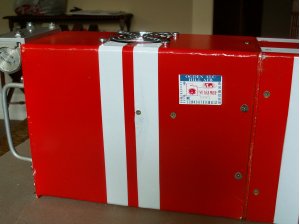
Reassembly
I had to decide on the proper components. The case is too small for an ATX or even a Micro-ATX motherboard because it is only 7" tall, so I had to go with a Jetway Mini-ITX board with an 800 MHz VIA C3 CPU. This is alright since it doesn't need a whole lot of processing power for it to be a file server and it helped keep the price down. As for storage, I got a 500GB IDE Seagate drive, as the motherboard didn't have SATA :(. I also added two low RPM Silverstone case fans to keep air moving. The hard drive and motherboard were mounted using 1-1/2" aluminum angle.
Update:
In the pursuit of more storage, I upgraded the server with an Intel Atom 330 Mini-ITX board, 2GB of Crucial DDR2-667, and a WD Caviar Green 2TB HD.
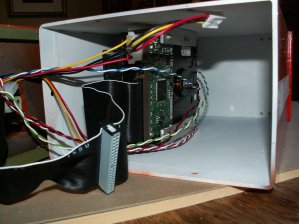
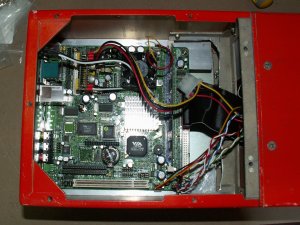
On the front of the case, I moved the beacon up a little and rotated it so that the label was visible. This helped preserve the original look of the box. I added a toggle switch for power and reset functions, a green LED for a power indicator, and a red LED for a hard drive indicator.

Software
In order to extend, the "crashproof" theme of the mod, I needed a crashproof OS. So, I chose Slackware Linux 12.0. The main reason I chose Slackware over other distributions is that I wanted to have an absolutely bare-bones, no frills installation. In other words, I installed the kernel, typical command-line programs, a few servers (SSH, Samba, etc.), and necessary libraries. I chose Samba for file serving because it is immediately compatible with Windows PCs (of which I have several) while also being easy to use for Linux clients.
Update:
Let's face it, Slackware is a serious pain in the ass to maintain. After the hard drive in the server crashed (hey, nobody's perfect! :oops:), I decided to go with CentOS since it's so much more convenient to set up and use.